Make a hamper · 7 min read
How to make a gift hamper at home: a thoughtful step-by-step guide
Choose a theme, plan the contents, build a stable arrangement and finish it with a personal message.
Let’s get started ↓
Choose a recipient and occasion before shopping.
Arrange the contents before you buy the basket or box.
Protect food, glass and scented items for safe presentation and delivery.
01 / 05
Start with the recipient, not the basket
A memorable hamper feels as if it was made for one person. Begin with the occasion and what the recipient enjoys: a quiet tea break, a new home, a birthday, a new job or a festive celebration. That gives you a simple theme to guide every later choice.
Write down one main item and two or three smaller additions that belong with it. For a tea theme, that might mean tea, a snack and a cup. For a new-home gift, consider a useful everyday item with a small treat and a note. A short, coherent list usually looks more considered than a box filled with unrelated things.
02 / 05
Set the budget and check practical details
Decide your total spend before browsing. Include the container, protective filler, ribbon or wrap, message card and delivery materials, as well as the gifts themselves. If you are making several hampers, multiply each per-person cost and keep a little room for breakage or substitutions.
Check food labels, best-before dates, dietary needs and common allergens with care. Keep food sealed and away from candles, fragrance and other scented items. If you do not know the recipient’s restrictions, choose clearly labelled products and avoid making health or dietary promises.
03 / 05
Choose a base that fits the contents
Lay the items out on a table and measure the footprint and tallest item. Then choose a sturdy box, tray or basket that leaves enough room for cushioning without making the contents look lost. A shallow base makes it easier to see each item; a deeper box needs more support so things do not slide.
If the hamper will be carried or shipped, favour a base that can be closed or wrapped securely. Check that the bottom is strong enough for the heaviest item. Glass jars need individual cushioning and should not press against one another.
04 / 05
Build the arrangement before wrapping
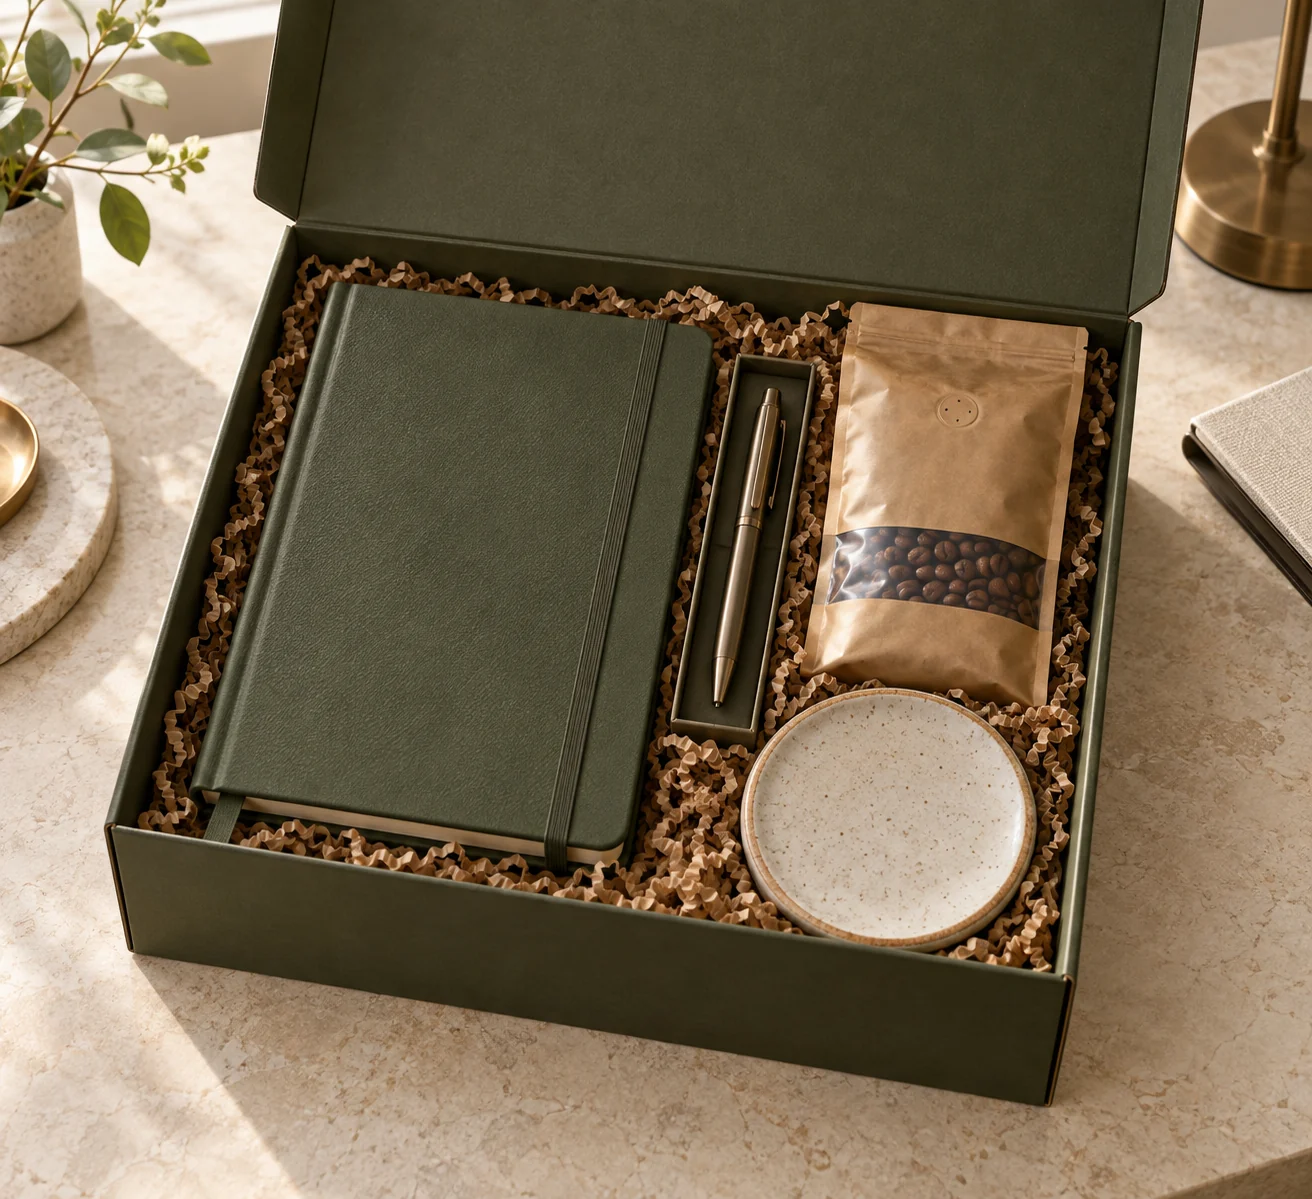
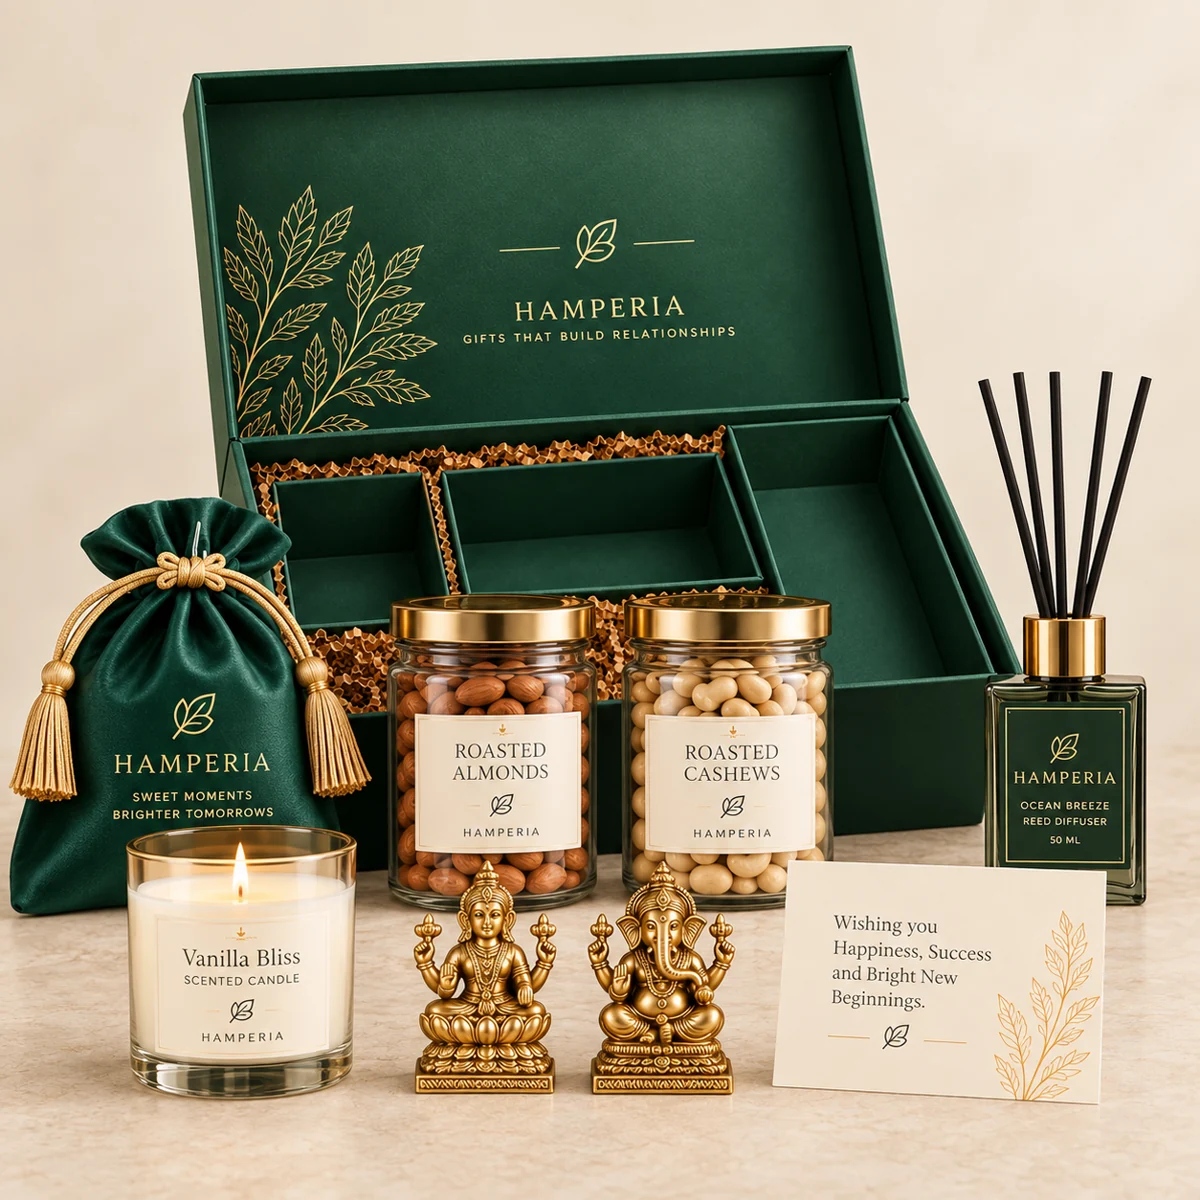
Add a layer of filler, then place the heaviest items low and towards the back. Stand taller items behind shorter ones, and turn labels towards the person opening the hamper. Use small pieces of filler to keep items upright and to prevent movement.
Step back and look at the arrangement from the front and from above. Remove anything that blocks another item or makes the hamper feel crowded. Try a simple colour plan, such as kraft and green or cream with one festive accent, and repeat those colours in the card or ribbon.
05 / 05
Add a personal finish and check it can travel
Write a short message that says why you chose the gift. A name tag or a ribbon in a favourite colour can add warmth without adding clutter. Keep the note easy to read and place it where it will be seen first.
Before handing it over, gently tilt the base to check that nothing shifts. Secure the lid or outer wrap, protect fragile corners and add an outer shipping carton if it is travelling. For a larger order, assemble one sample first, photograph the approved arrangement and use it as the packing reference.
Put it into practice
Your little planning checklist.
Tick off the decisions you’ve made. You can reset this checklist at any time.